Can you truly unlock the full potential of your Raspberry Pi without understanding its core the SD card? The answer, unequivocally, is no. The SD card is not just storage; it's the lifeblood of your Raspberry Pi, dictating its performance and the very essence of your projects.
Delving into the intricacies of managing your Raspberry Pi's SD card is essential for any user, regardless of their experience level. Whether you're a seasoned programmer or a curious beginner, understanding how to access, monitor, and optimize your SD card is paramount. This comprehensive guide will equip you with the knowledge to navigate the complexities of SD card management, ensuring your Raspberry Pi projects run smoothly and efficiently.
Let's start by exploring the fundamental aspects of accessing Raspberry Pi OS files on a Windows system. The good news is that you don't need to be a Linux expert to peek inside your Raspberry Pi's file system. A free tool called "Linux Reader" is readily available for installation on Windows. This handy utility grants you access to various Linux partitions, including those commonly found on Raspberry Pi systems, such as ext2/3/4, ufs, hfs, and reiserfs.
While accessing the files is one aspect, understanding the practical applications of SD cards in the context of a Raspberry Pi is equally important. The choice of SD card can significantly impact your project's overall cost-effectiveness, especially when compared to other storage options. For many projects, a reliable SD card provides a cost-effective solution. It is true that the Pi 2 and 3 are often priced similarly in various markets, but the Pi 3 offers a considerable advantage in terms of available memory, which is beneficial for temporary storage in RAM.
However, let's not overlook the importance of power considerations. While the Raspberry Pi 3 can power some SSDs, it's not a universal solution. The power demands of an SSD can sometimes exceed what the Pi can comfortably provide, which is a crucial detail to keep in mind when considering external storage options.
The following table provides a summary of essential information regarding SD card usage and management within the Raspberry Pi environment.
| Aspect | Details |
|---|---|
| Storage Capacity Recommendations | For Raspberry Pi OS installations, it's recommended to use an SD card with at least 32GB of storage. For Raspberry Pi OS Lite, a minimum of 16GB is suggested. |
| Supported SD Card Capacity | Any SD card with a capacity of less than 2TB can be used. Capacities exceeding 2TB are currently not supported due to limitations in the Master Boot Record (MBR). |
| Displaying SD Card Usage | To see how much space is being used on your SD card, you can run the following command in the Raspberry Pi terminal:df -h |
| Partition Information | To access information about the size of your SD card partitions, open a Raspberry Pi terminal and type the following command:lsblkThis command lists out all the partitions on your SD card, including their sizes. |
| SD Card Speed Tests | While there are tools to test SD card speeds, they do not comprehensively test all parameters of the Pi. For more detailed testing you need to find specific tools. |
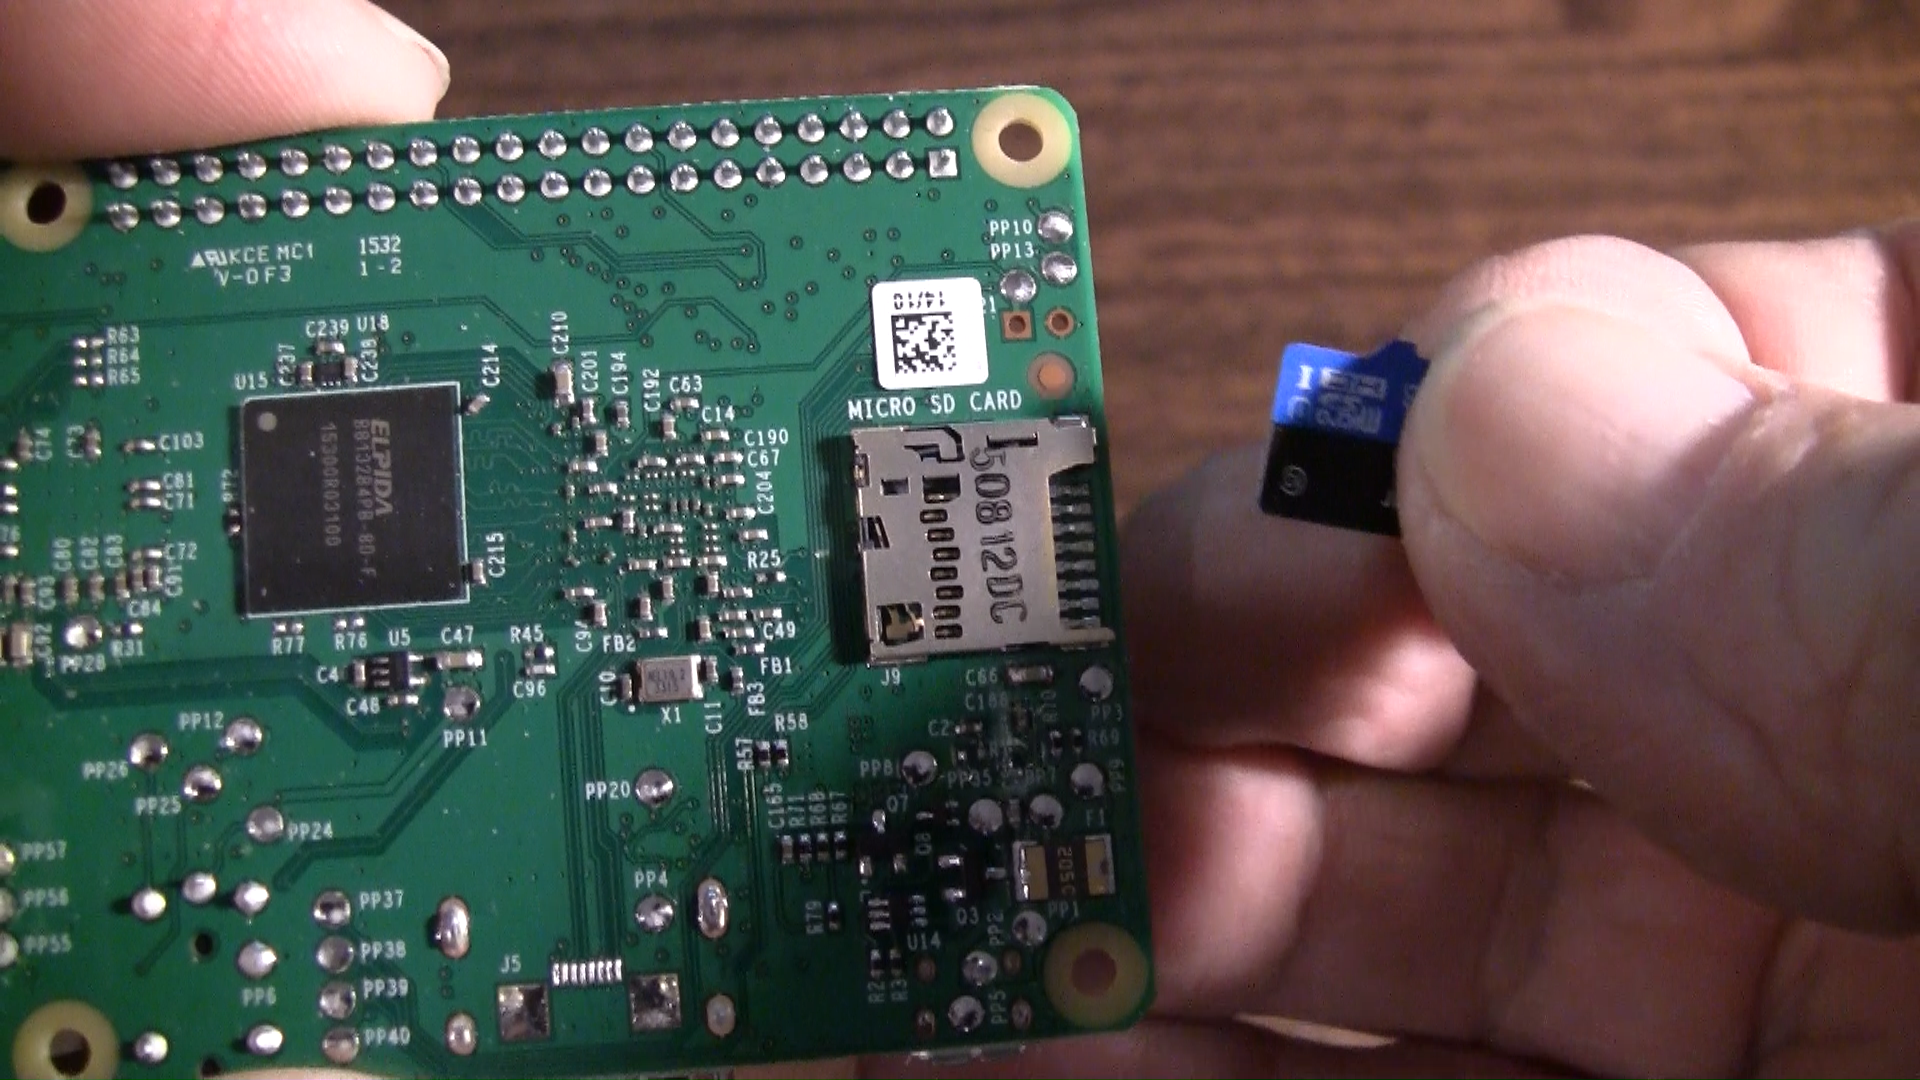
| File System Considerations | When managing a Raspberry Pi, the SD card is the primary filesystem. Understanding how to use it safely differs from administering a full-fledged Linux system. |
| Image Writing | For details on writing images to an SD card, refer to tutorials on using tools like Etcher on Windows, Linux, and Mac. |
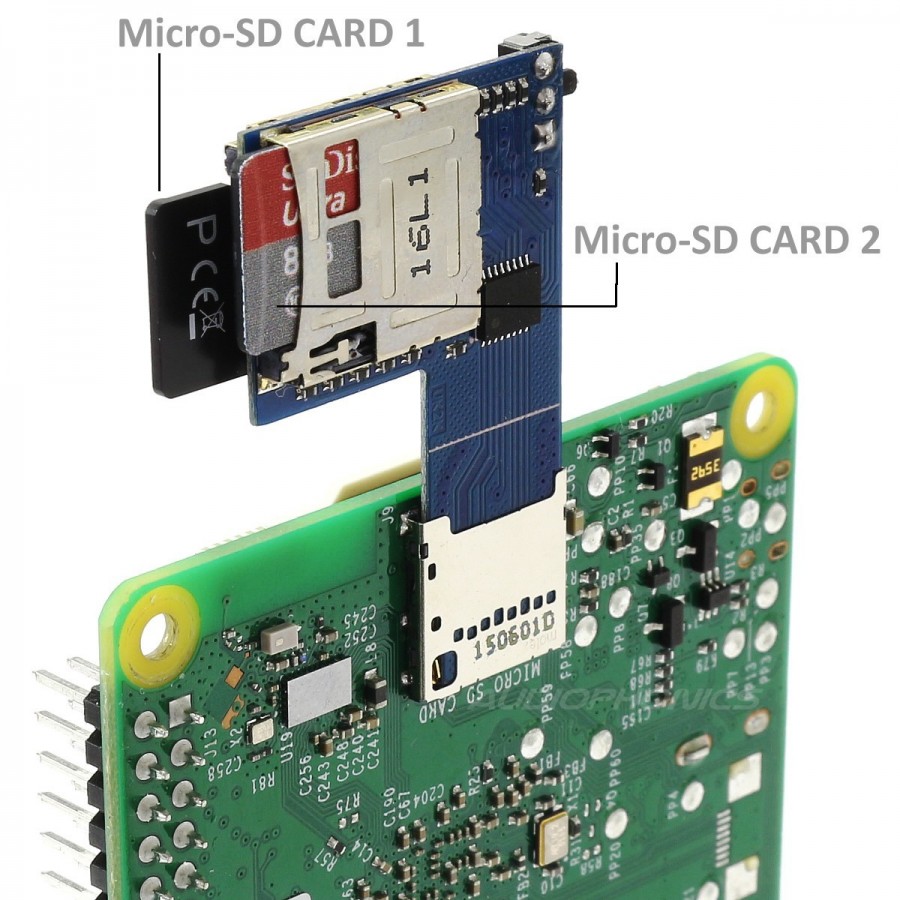
| Repairing Unreadable SD Cards | Repairing micro SD cards that are not readable in a Raspberry Pi or other computers can be complex. If you insert them into adapters and they don't show up in file managers, it may be due to various issues. Try other computers with card readers or specific repair software. |
If you're using Raspberry Pi OS (formerly Raspbian), the process is streamlined. Simply open a new terminal window. Running the following command and pressing enter will display the total disk usage for your SD card in columns. This command, along with others, is accessible through both the GUI and the command line, giving you a quick summary or detailed breakdowns of how storage space is utilized across various directories.
Another common task is understanding and addressing SD card errors. Sometimes, even the most careful users encounter issues where micro SD cards fail to be recognized by their Raspberry Pis or other computers. The cards might not appear in file managers, even when inserted into adapters connected to USB ports. The only indication of activity might be a notification to eject the card or a sound through the speakers when it's removed.
In such cases, you might be tempted to try to repair these cards. However, the repair process can be tricky. Its advisable to have access to another computer with an SD card port to diagnose the card. Some potential solutions include using dedicated SD card repair software, reformatting the card, or checking the card's physical condition. Please be aware that, attempting to repair corrupted SD cards may not always be successful.
Lets address the issue of trimming an SSD or SD card for optimal performance. In theory, a full device trim should be performed to optimize its performance. However, in practice, the available tools and support for this function can be limited. Not all storage adaptors support trim. This is particularly relevant if youre using an external storage device, like an SSD, with your Raspberry Pi.
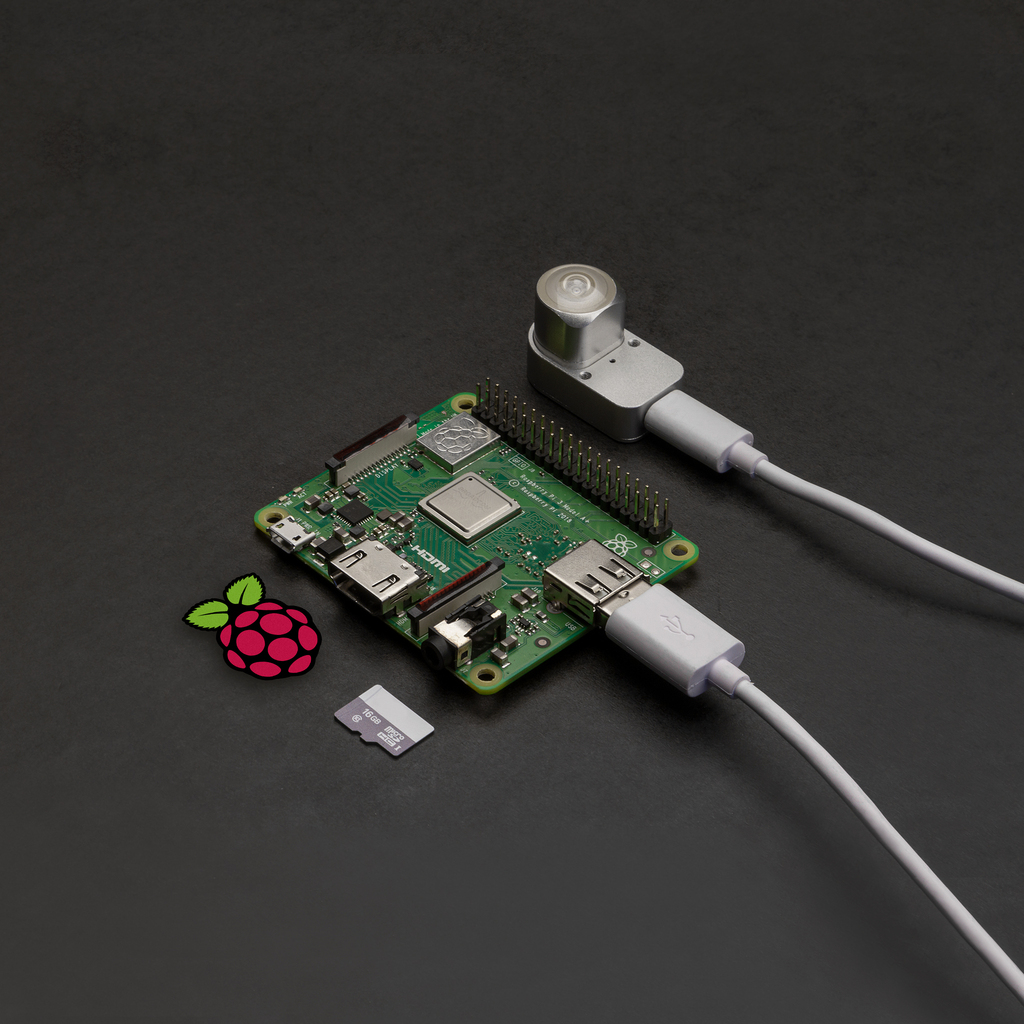
When choosing an SD card for your Raspberry Pi projects, it's important to prioritize size and speed. However, dont fall into the trap of immediately opting for the largest capacity card. A slightly smaller, faster card can often outperform a slower, larger one. For the Raspberry Pi 3 Model B, or any model for that matter, getting the biggest microsd card possible is always the goal, but the speed and reliability of the card is crucial.
Consider the following when selecting your SD card: The Raspberry Pi Imager is a user-friendly tool that simplifies the process of setting up your SD card with the Raspberry Pi OS. The Raspberry Pi Connect feature provides another layer of accessibility, allowing you to access your Raspberry Pi OS from another computer. These tools are designed to enhance the user experience and reduce the complexities. Consider buying SD cards pre-loaded with the Raspberry Pi OS for added convenience.
One aspect of working with a Raspberry Pi that often leads to questions is data transfer and storage management. It's common to want to get the image off a USB stick onto an SD card. The crucial point here is that the SD card requires USB and SD card drivers to perform this operation. The drivers are typically stored on the USB stick and not the SD card. This creates a circular dependency, a situation that makes it necessary to set up the SD card directly using the Imager to avoid this problem.
Another common challenge is running the Raspberry Pi headless, that is, without a monitor, keyboard, or mouse. This setup is frequently preferred for projects where the Pi is embedded or used as a server. To manage the Raspberry Pi headless, one must configure network access and enable remote login options such as SSH (Secure Shell). These configurations are crucial to ensure that you can manage your Raspberry Pi from another computer, typically using the same local network.
In conclusion, managing your Raspberry Pi's SD card is not just about storage; it's about unlocking the full potential of your projects. By understanding how to access, monitor, optimize, and troubleshoot your SD card, you will be well-equipped to make the most of your Raspberry Pi.